Introduction:
VirtualPC 2007 is a free program from Microsoft. You can use VirtualPC to run other operating system in your Windows machine. See How to Install and User VirtualPC 2007 for more details. Ubuntu is a version of Linux. It prides itself of a complete package and regular update every six months. See Ubuntu.com for details. I wanted to test Ubuntu 9.10, but I did not want to dedicate a new server on it. VirtualPC was very handy on this – I could play with Ubuntu 9.10 to see if I like it or not before I put it on my computer. However, I ran into more problems with Ubuntu 9.10 than any earlier versions. So I decided to write this post so other people can have few problems than me.
Installation Steps
- Download Ubuntu 9.10 ISO image from Ubuntu.com and save the image on the hard drive for later use.
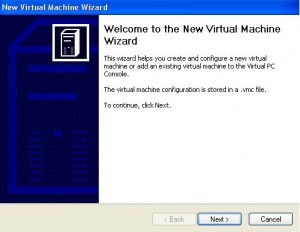
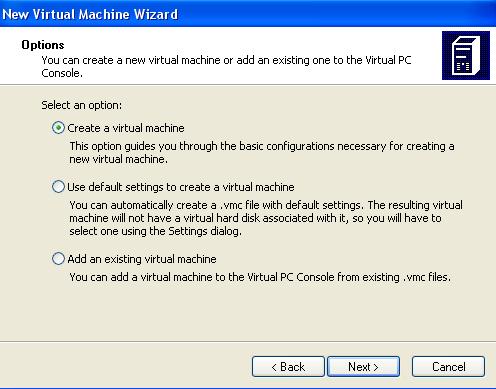
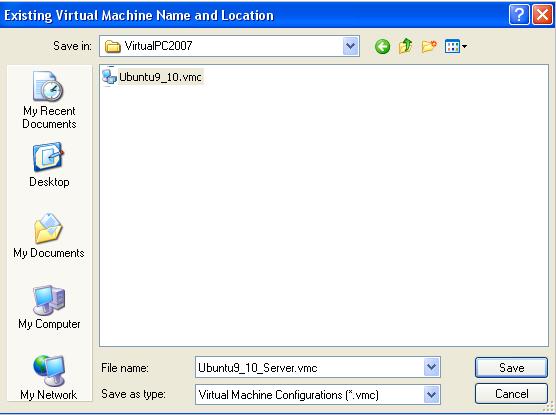
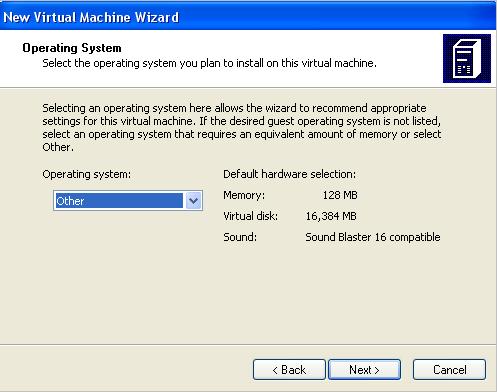
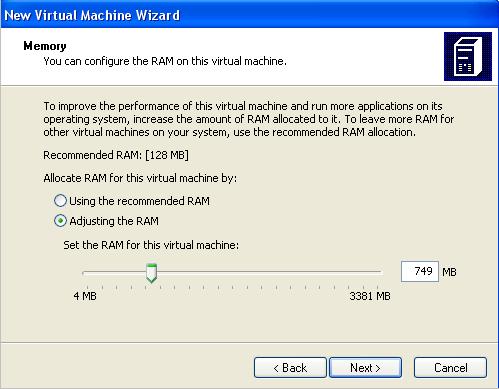
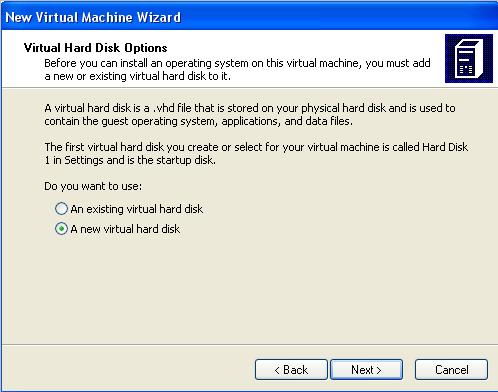
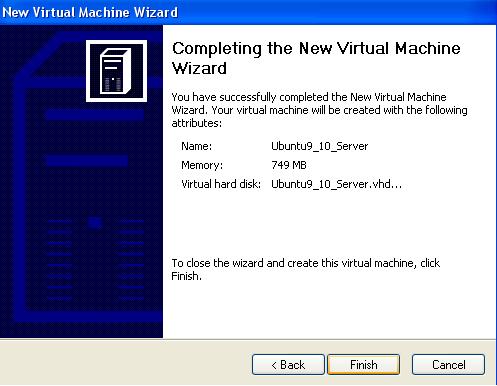
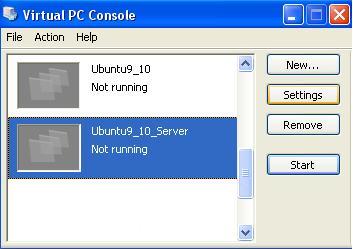
- Follow standard steps to add a new VirtualPC as shown in pictures below.
- Start the New Virtual Machine by double click on it
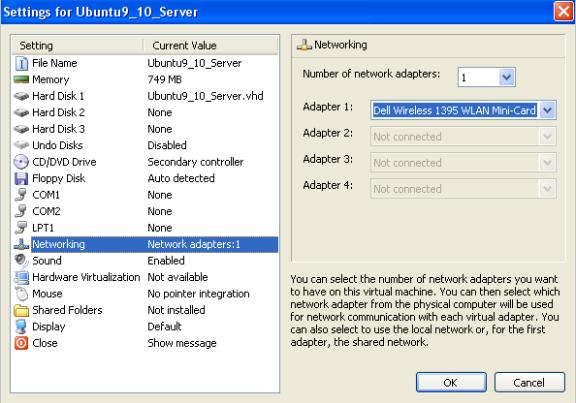
- Select Network Adapter the Virtual Machine uses. Ubuntu checks the network connection at the beginning of installation. If your network is not DHCP and ready, Ubuntu takes a long time to go to next step.
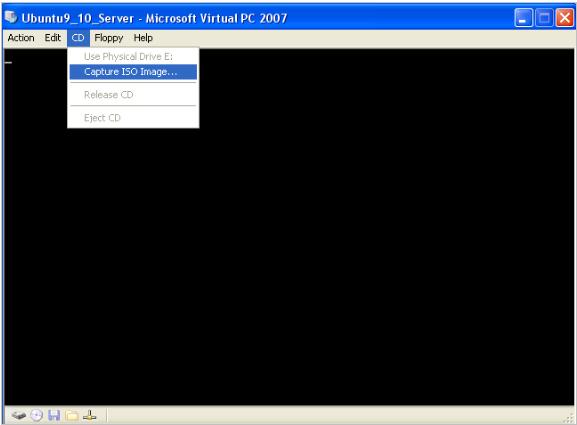
- Use saved ISO CD image to install Ubuntu operating system on the virtual machine
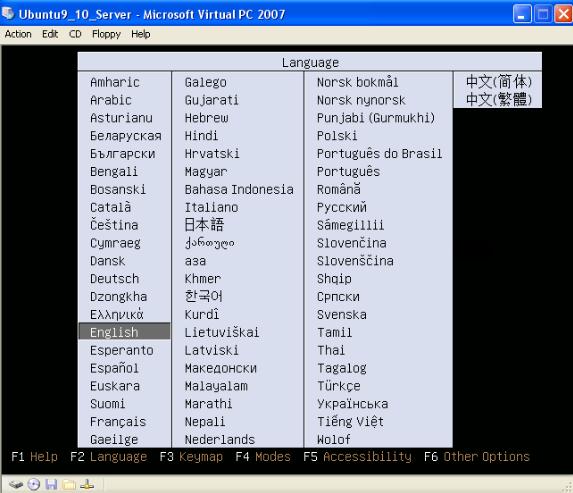
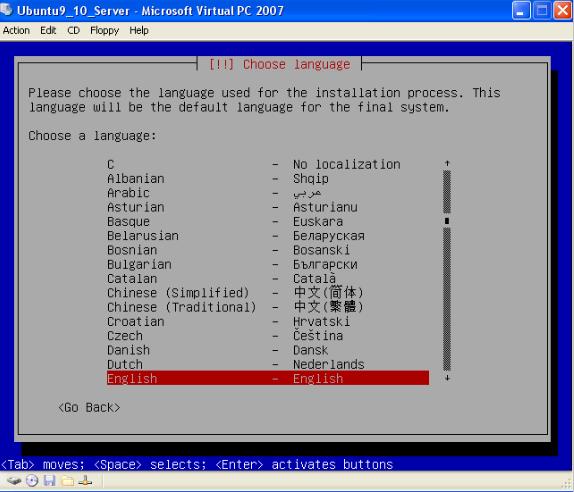
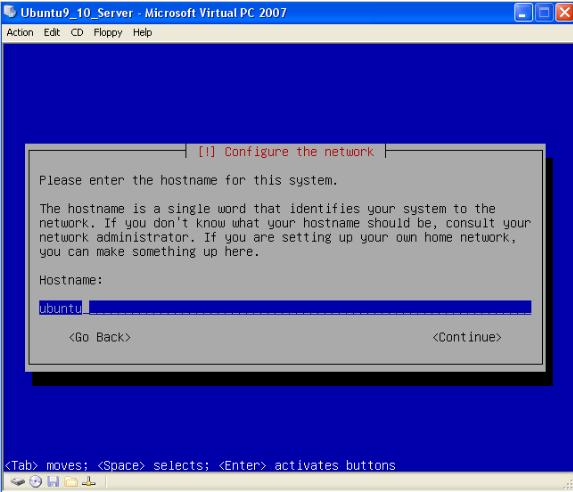
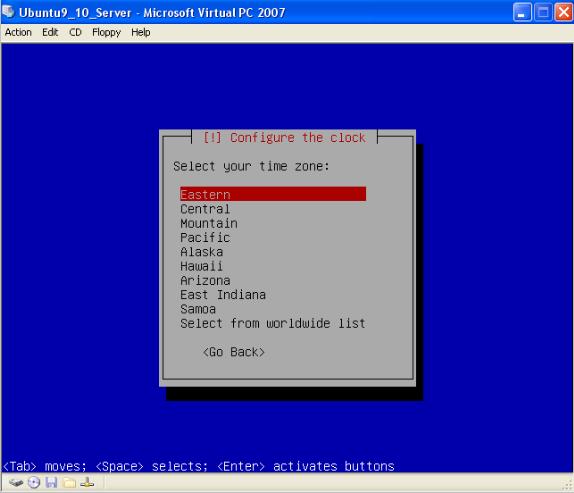
- Select Language, Time Zone and other options following the screen prompts
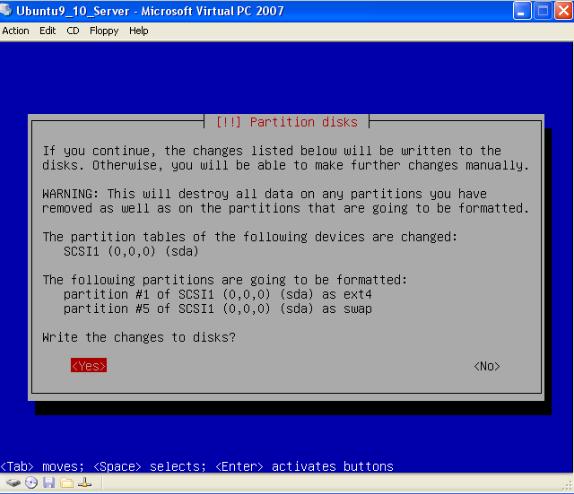
- Select Use Entire Disk but do NOT set up LVM. GRUB does not load correctly with LVM option. Ubuntu writes the information into the Virtual Disk on your hard drive. This does not affect area outside of the virtual disk.
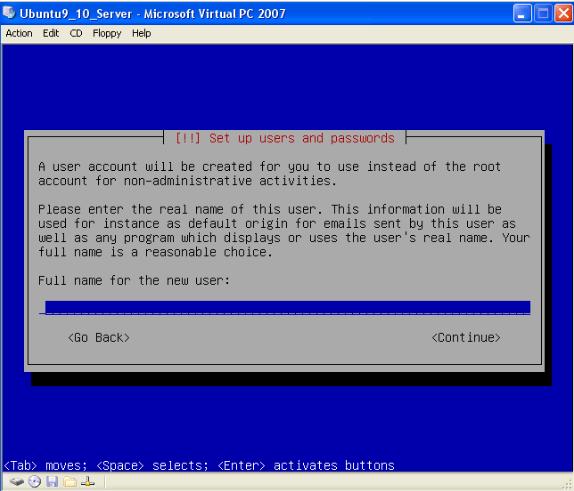
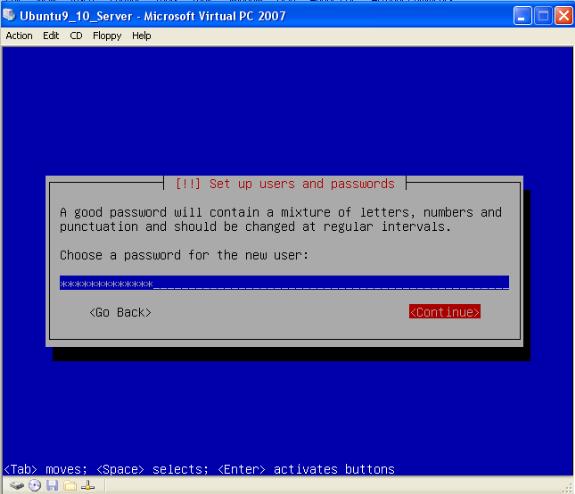
- Setup User Name and Password for the new system. By default, this user has root (administrator) power for the whole Ubuntu system.
- Do not need Proxy if you can get to Internet directly.
- Setup User Name and Password for the new system. By default, this user has root (administrator) power for the whole Ubuntu system.
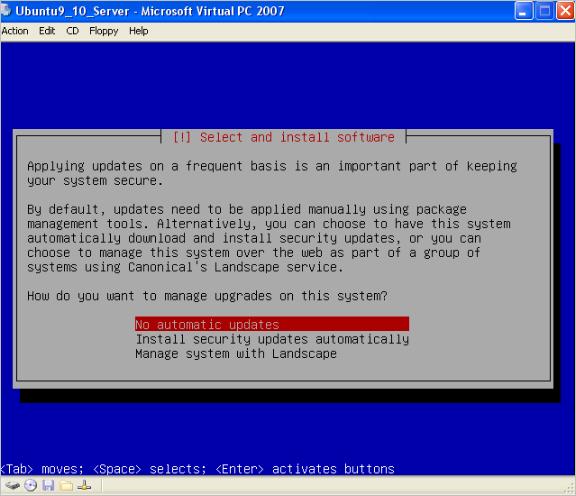
- Setup the Update Option. I selected No Automatic Update. It is fine with Automatic Update as well. I haven’t had any problems caused by Ubuntu update for more than 4 years.
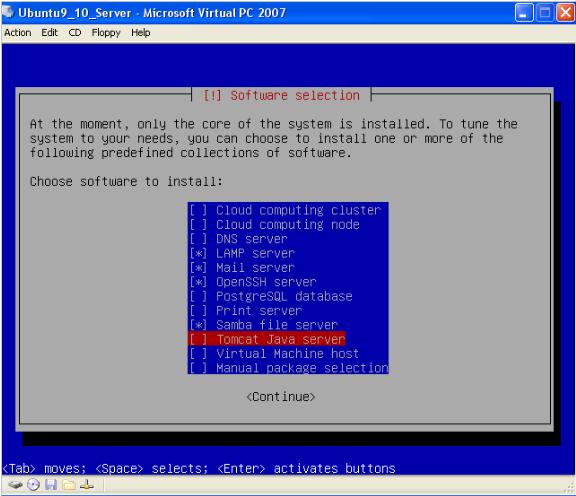
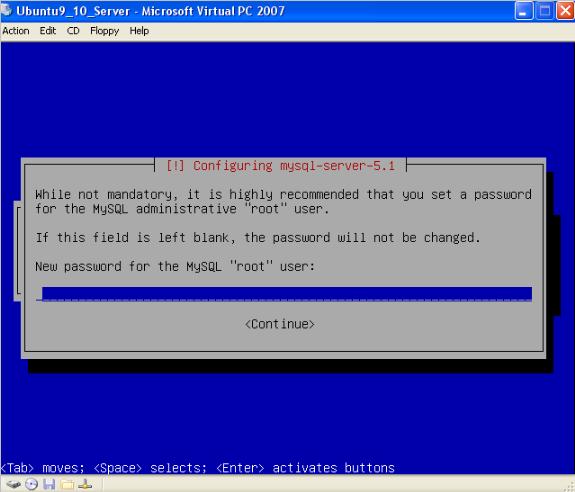
- Select Installation Package and its Options


Fix Screen Display Error
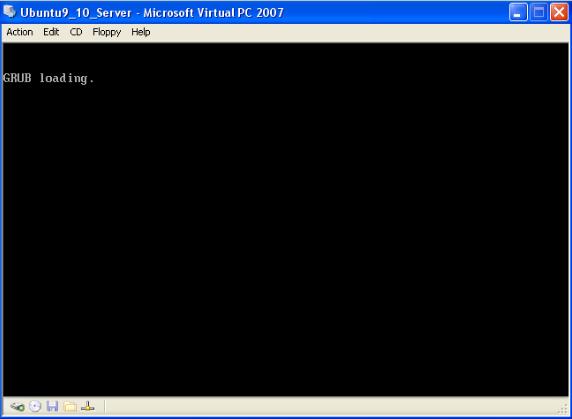
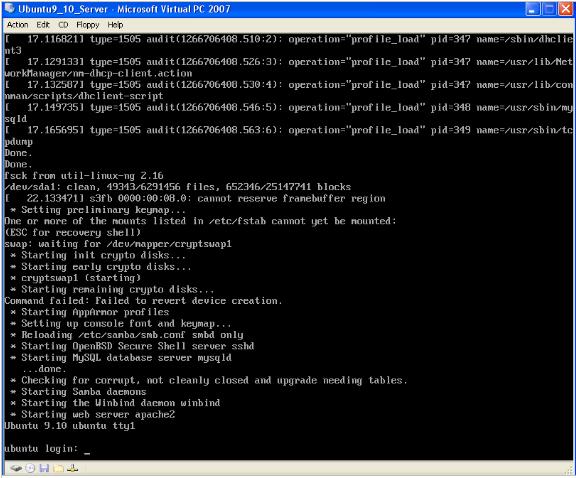
Ubuntu 9.10 did not display correctly on my VirtualPC.

There were not many entries on the Internet to deal with this problem. I spent some time on it. The display problem was caused by framegraber. Finally, I figured out a work around.
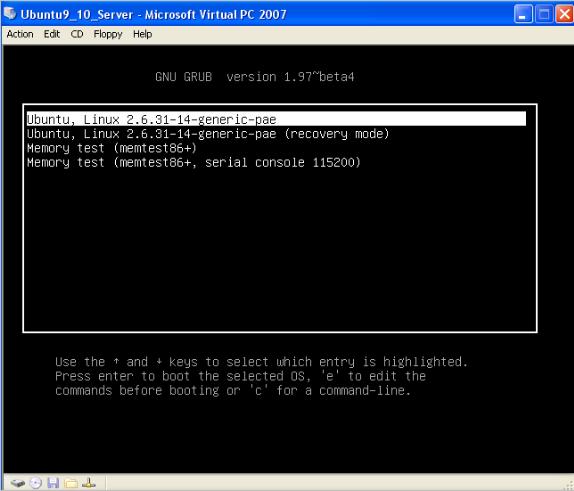
- Access the GRUB menu by hitting the down arrow key when the GRUB screen shows up as shown.
- Select the Ubuntu Kernal line “Ubuntu, 2.6.31” and hit “e” to modify it.
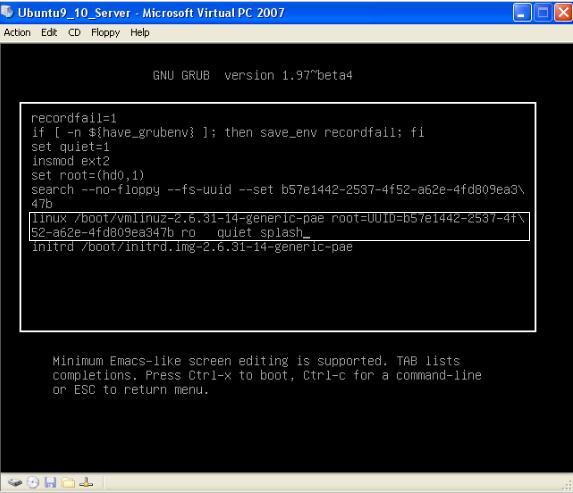
- Use arrow key to move to end of linux /boot/vmlinuz-2.6.31… line.
- Delete “quiet splash” and add “vga=771” at the end
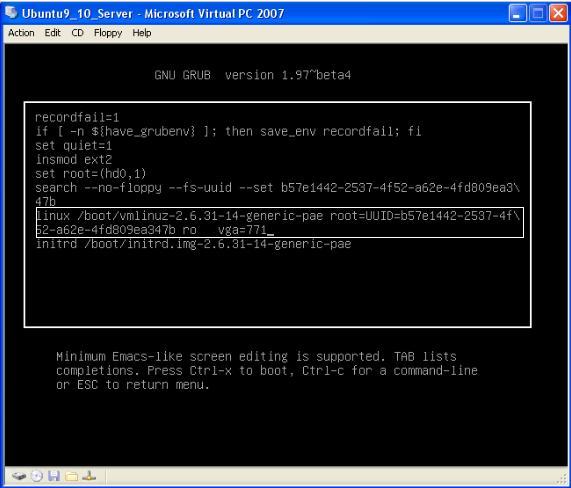
- Hit “CTRL-X” to boot Ubuntu. The display should be fine now.
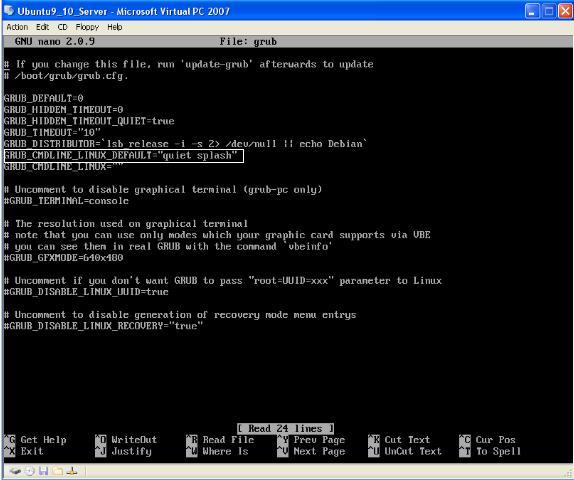
- To disable framegraber at the grub level, you need to edit the grub file in /etc/default/. First make a backup copy of the file with:cp /etc/default/grub /etc/default/grub_backup.It was very strange if you do not copy the file, next time when you get to the grub file, the content was blank.
- Open /etc/default/grub file and move the curse to GRUB_CMDLINE_LINUX_DEFAULT=”quiet splash”
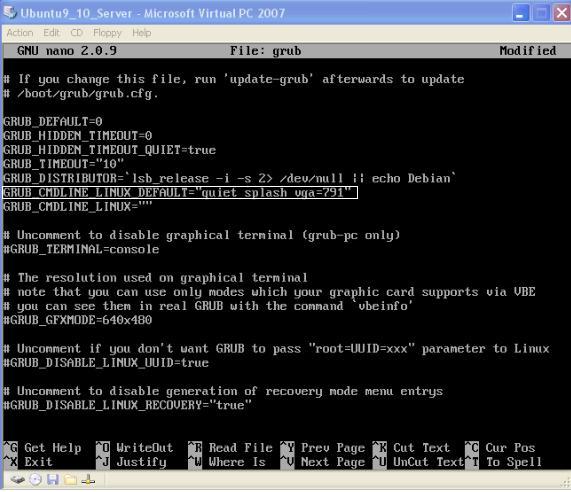
- Add “vga=791″ to the end of GRUB_CMDLINE_LINUX_DEFAULT=”quiet splash” so it becomes GRUB_CMDLINE_LINUX_DEFAULT=”quiet splash vga=791″
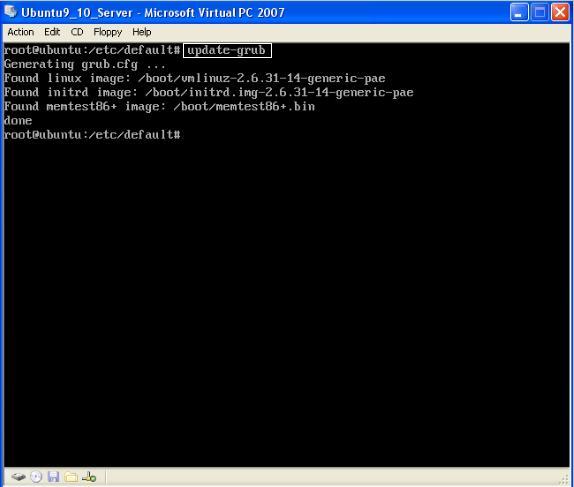
- Update GRUB configuration file with “update-grub”
Conclusion
Now you are done. You can test your Ubuntu 9.10 in VirtualPC2007 with various options. Good luck.
Reference:
VGA resolution table
| Color depth | 640×480 | 800×600 | 1024×768 | 1280×1024 | 1400×1050 | 1600×1200 |
| 8 (256) | 769 | 771 | 773 | 775 | ||
| 15 (32K) | 784 | 787 | 790 | 793 | ||
| 16 (65K) | 785 | 788 | 791 | 794 | 834 | 884 |
| 24 (16M) | 786 | 789 | 792 | 795 | ||
https://wiki.ubuntu.com/FrameBuffer
Thanks, saved me from banging my head against a wall trying to get ubuntu 10 working. 🙂
Hi,
I am going to try Ubuntu on my computer. I am downloading the cd image right now. While downloading i was googling for some info on Ubuntu linux. That is how i came acros your blog. Thanks for the information you posted, i will certanly need it when i am going to use Ubuntu.
Thanks!